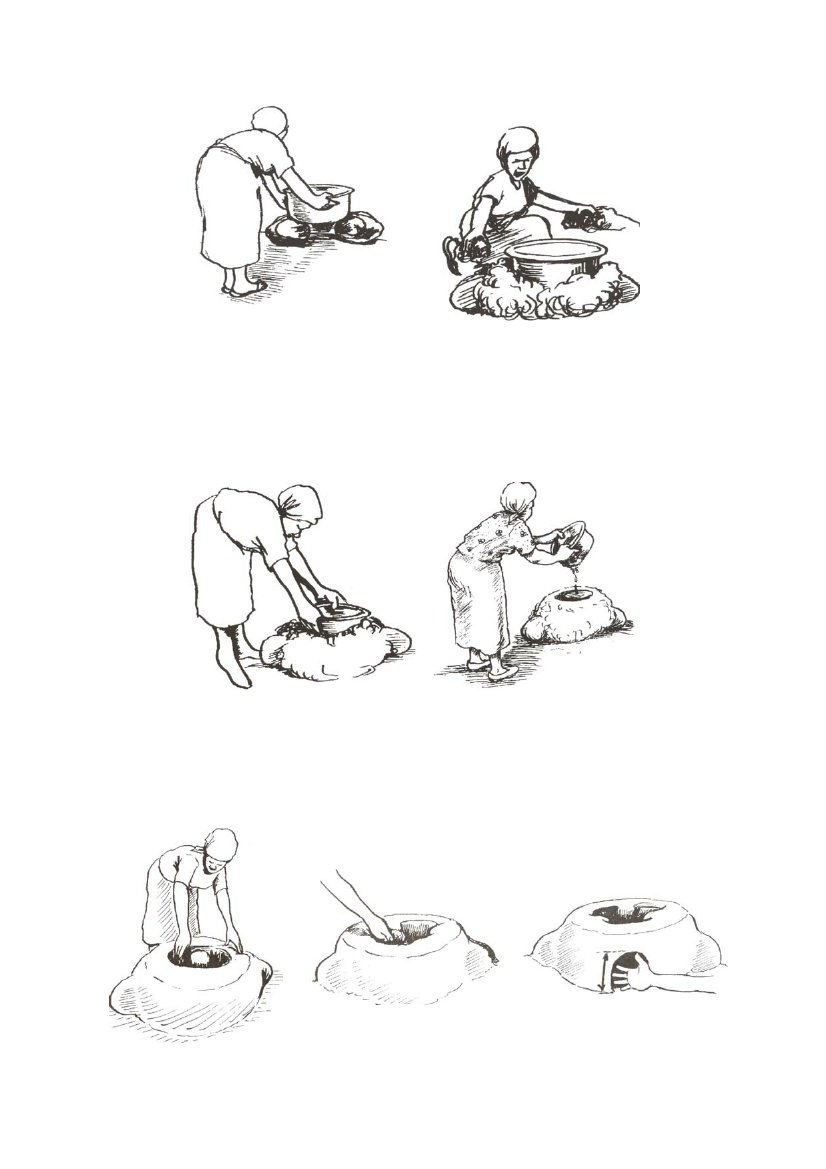
Figure 5.60 Placing the sufuria on top of the stones Figure 5.61 Placing mud around the sufuria
3. Level the place where you intend to build the stove and sprinkle with water.
4. Arrange the stones in the three-stone fire position, and try all the pots and pans used for
cooking.
5. Take the pan that is commonly used and wet the outside. This ensures that it is easily
removed afterwards. Place the pan on top of the stones.
6. Pack mud all around it up to the top, leaving space enough on top for holding the pot.
7. Remove the pot by twisting it round.
8. Smooth out the stove walls, both inside and outside.
Figure 5.62 Packing mud to the top of the sufuria Figure 5.64 Removing the sufuria
9. Keep the stove covered for one to three days and let it dry until you can push your finger
through only up to nail level.
10. Keep the remaining mud save for repairing cracks.
11. Cut three some paths between the three stones, each as wide as three fingers. These should
be cut right down to the stove floor.
12. Do not cut off too much mud from the top of the stones to ensure that the pot hold firmly when
Figure 5.64 Smoothing out the
stone
Figure 5.65 Cutting the smoke path Figure 5.66 The height of the stove
door
21